The first tutorial that caught my attention teaches a different way to convert a regular color digital photo into an "old-fashioned" black and white photo that's supposed to look more like a print from film. It's definitely more time-consuming. I'm not sure yet whether or not I think it's worth the extra effort. . .
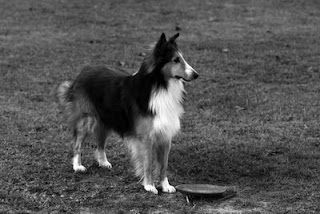
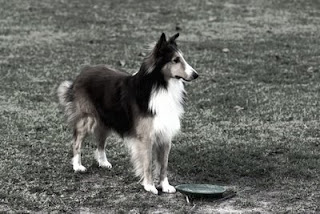
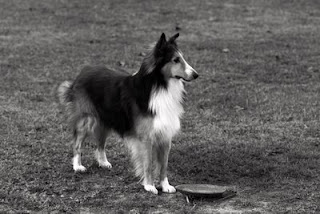
Here's the same photo with three different B&W treatments. (You can click them to see them bigger.)
First, here's the easy way. Just go to Image > Mode. Select "Grayscale". If it's not quite dark or bright enough for you, a quick fix with Curves fixes that. (I lightened this one a little.) As quick as that, you're done.

The more involved method (which I won't describe here, since you can get it at the link provided above) yields something like this:

It seems to have left behind some color. The grass looks a little green, still, and I'm not sure I like it. . . I used a little less grain than they call for, because it made the grass look "snowy", in this photo.
Finally, I did a little "combo". I don't even remember what all I did. I started with the basic grayscale, but then I played around with a couple of other things, including adding graininess.

Looking at all three of them at the same time, I think I may like the easiest one the best. (g) Maybe this is one of those techniques that works better on some photos than others. Or maybe I just don't know what old-fashioned B&W film prints are supposed to look like. . .
Any opinions?
P.S. The dog in the photo is Kolby, one of my family's Shelties. I think Donald may have taken this one. . .